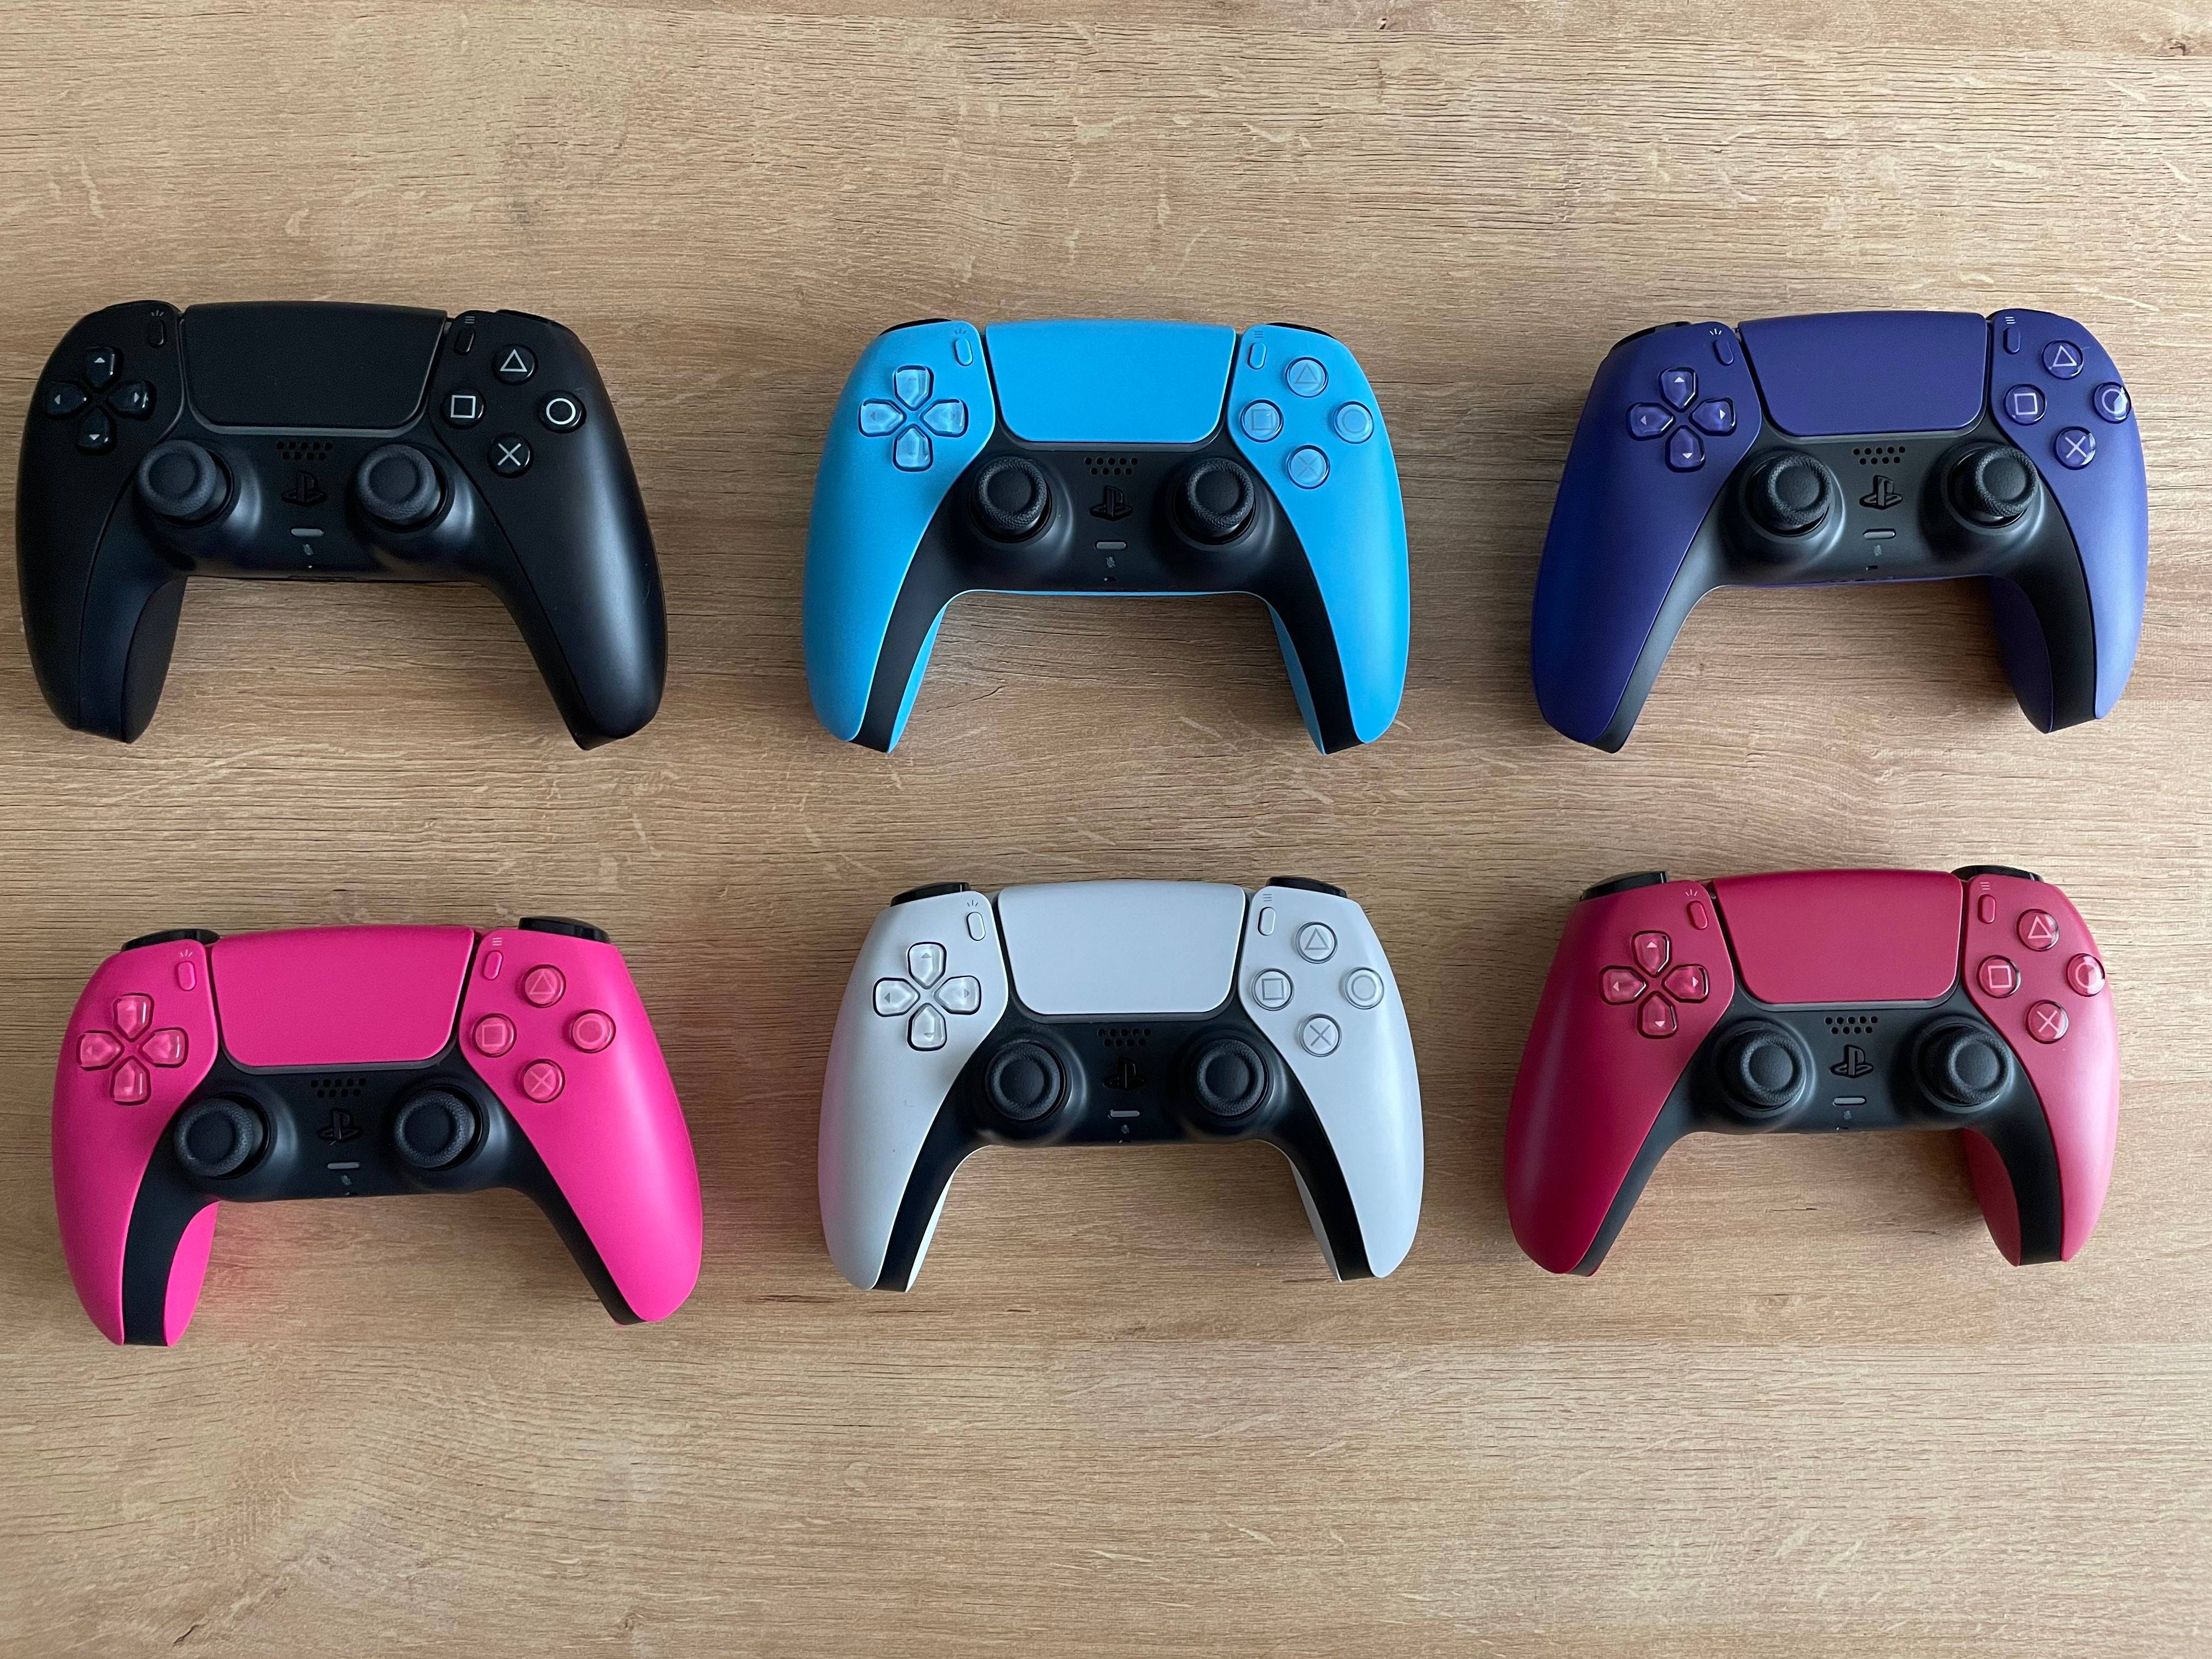
The Sony DualSense, renowned as the best PS5 controller, boasts impressive innovations, superior grip, and ergonomic design, maximizing your PlayStation 5 gaming experience. Connecting it to your PC, however, might seem daunting, especially considering the challenges faced with the DualShock 4. Fortunately, the DualSense offers significantly improved PC compatibility, earning its place among the best PC controllers. Follow these simple steps to connect your DualSense:
Items Needed:
- A data-capable USB-C cable (some cheaper cables only provide power). You'll need a USB-C to USB-C cable if your PC has a USB-C port, or a USB-C to USB-A cable for standard USB ports.
- A Bluetooth adapter (if your PC lacks built-in Bluetooth).
Connecting your DualSense to your PC requires either a data-transferring USB-C cable (not all USB-C cables support data transfer) or a Bluetooth adapter if your PC doesn't have built-in Bluetooth capabilities. Bluetooth adapters are readily available, with options for PCIe slots or USB ports.
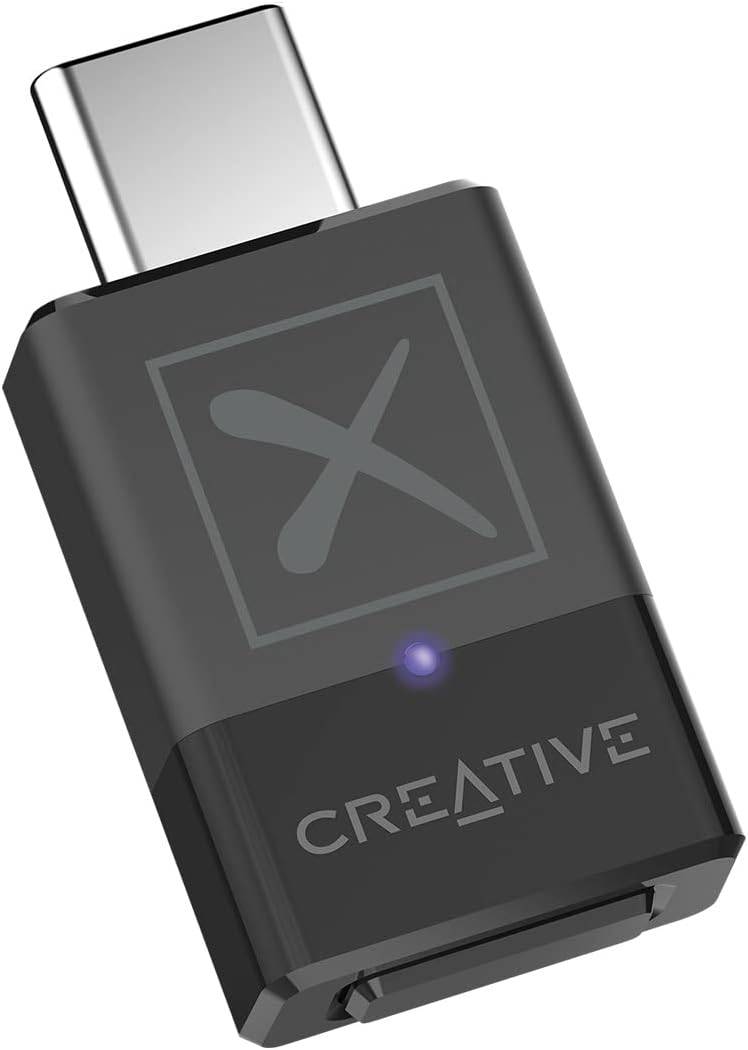
Our Top Pick: Creative BT-W5 Bluetooth Transmitter
Connecting via USB:
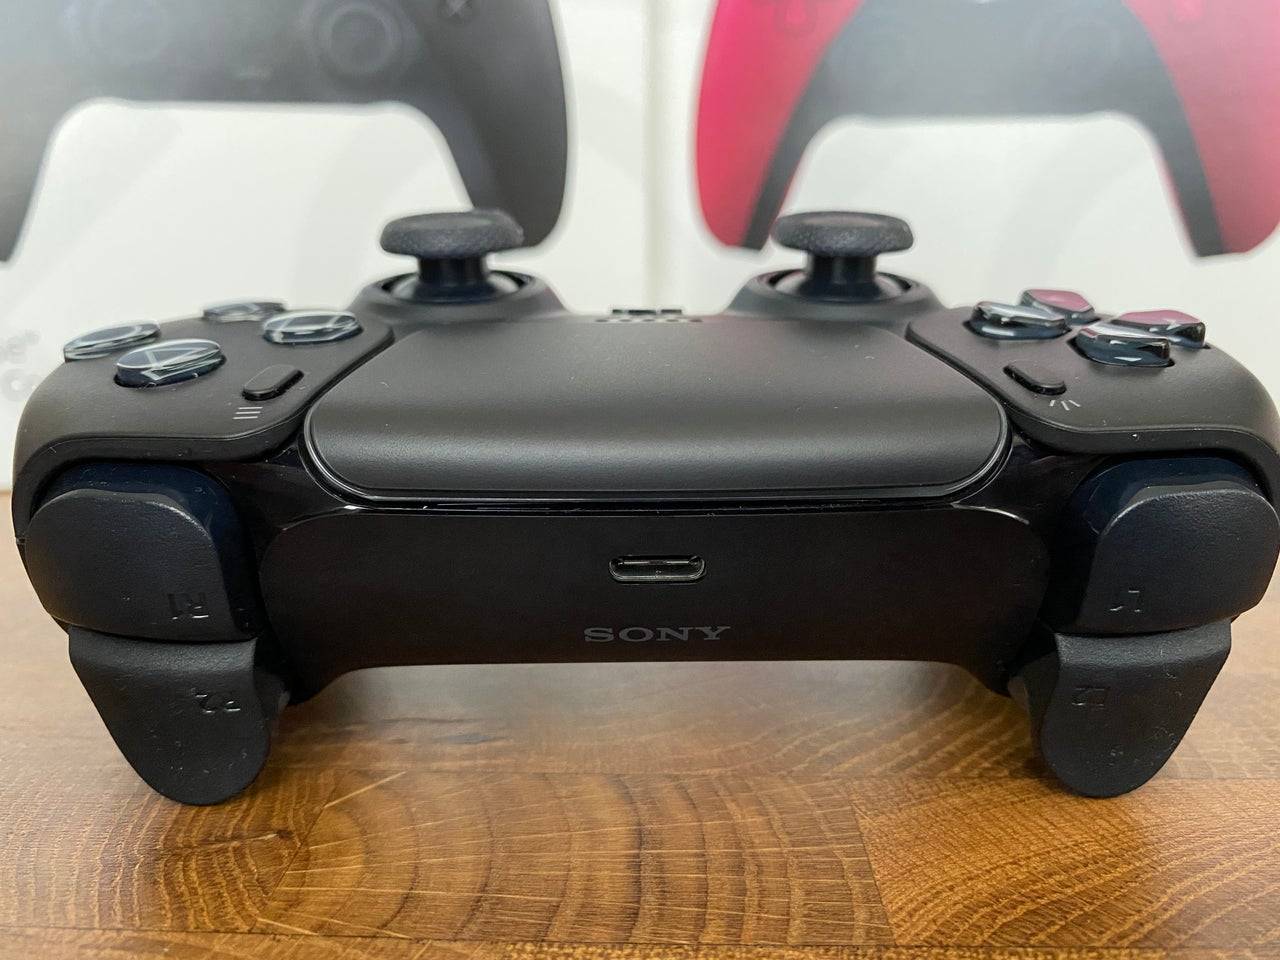
- Plug the USB cable into an available port on your PC.
- Connect the other end to the USB-C port on your DualSense controller.
- Wait for your Windows PC to recognize the DualSense as a gamepad.
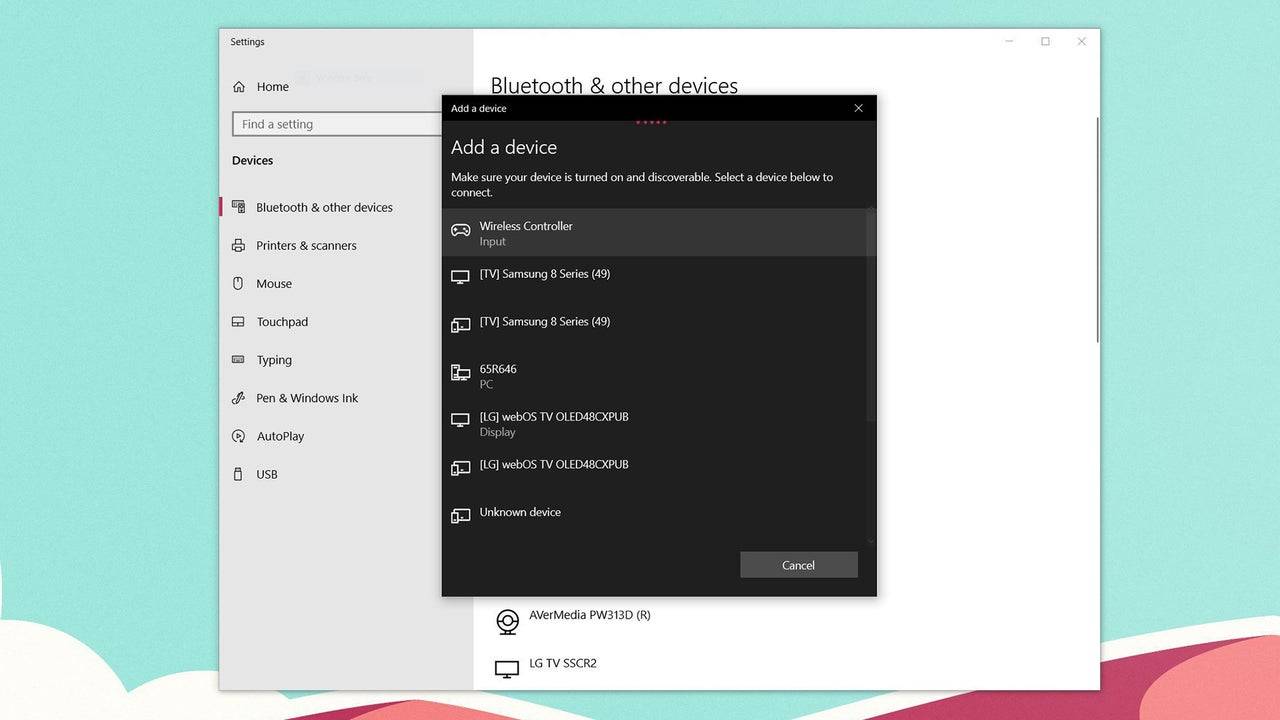
Connecting via Bluetooth:
- Access your PC's Bluetooth settings (Press the Windows key, type "Bluetooth," and select "Bluetooth & other devices").
- Select "Add Bluetooth or other device."
- Choose "Bluetooth" from the pop-up window.
- With your DualSense controller powered off, press and hold the PS button and the Create button (next to the D-pad) simultaneously until the light bar under the touchpad blinks.
- Select your DualSense controller from the list of available Bluetooth devices on your PC.


![Amy’s Ecstasy [v0.45 Final]](https://imgs.daqiang.cc/uploads/07/1719551527667e462789d0f.jpg)